Unlocked packages in Salesforce offer a flexible way to manage and deploy metadata across multiple organizations. They are ideal for internal business applications, allowing administrators to modify metadata directly in production environments. This flexibility makes them particularly useful for companies that need to adapt quickly to changing business requirements. Here’s a detailed step-by-step guide on how to create and use unlocked packages.
What Are Unlocked Packages?
- Flexibility: Unlike managed packages, unlocked packages allow you to add, edit, or remove metadata easily after installation.
- Modularity: They help build modular applications by organizing related components together.
- Upgradability: Unlike unmanaged packages, unlocked packages can be upgraded with new versions while preserving local changes made by users.
Key Benefits of Unlocked Packages
- Customization: Since they are editable post-installation, you can tailor the package’s functionality according to your specific needs without having to wait for updates from the package creator.
- Version Control: You can track changes made locally and ensure compatibility with future updates.
- Collaboration: Multiple developers can work on different parts of an application simultaneously.
- Security and Governance:
- While offering flexibility, it’s essential to maintain strict access controls over who can modify these components directly within production environments.
- Cost Efficiency:
- By reducing dependency on external vendors for customizations and upgrades, organizations can save resources over time.
Step-by-Step Guide to Creating an Unlocked Package
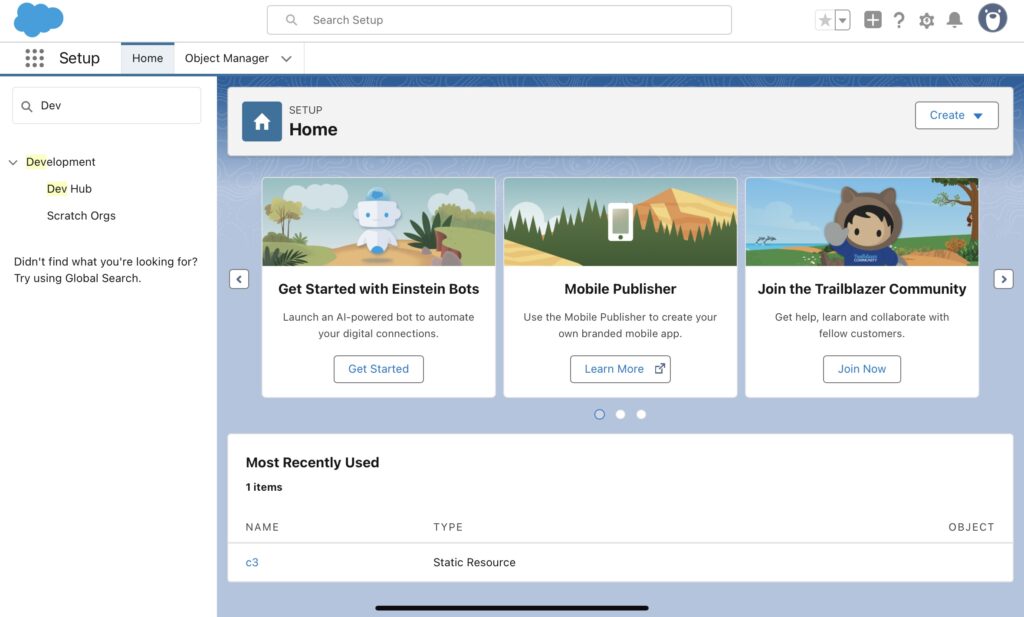
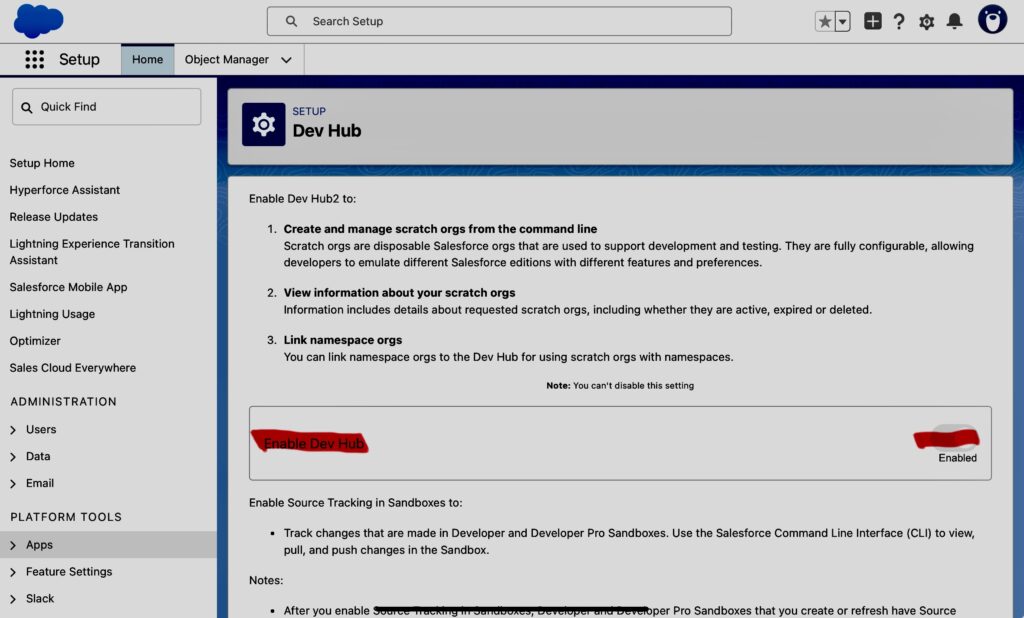
1. Enable Dev Hub
- Go to Setup > Dev Hub in your org.
- Enable Dev Hub and 2nd Generation Managed Packaging (2GP). This is crucial as it allows you to create managed or unlocked packages.

2. Install Salesforce CLI
- Download and install the Salesforce CLI from the official Salesforce website.
- The CLI provides powerful commands for managing your orgs and creating/deploying packages efficiently.
3. Authenticate with Your Org
Open a terminal or command prompt:
bashsfdx force:auth:web:login -d -a DevHub
Replace DevHub with an alias if needed; this logs you into your default dev hub org.
4. Create an Unlocked Package
In the same terminal:
bashsfdx force:package:create --name MyPackage --description "My First Package" --packagetype Unlocked --path force-app --nonamespace --targetdevhubusername DevHub
Here:
--name MyPackage: Sets the name of your package.--description: Adds a description for clarity.--packagetype Unlocked: Specifies that this is an unlocked package.--path force-app: Points where source code will be stored (e.g., Apex classes).
If you want a namespace (optional), omit --nonamespace.
5. Create a Package Version
Once ready:
bashsfdx force:package:version:create -p MyPackage -d force-app -k mysecretkey –wait 10 –v DevHub –codecoverage
Here:
-p MyPackage: Specifies which package version is being created.-d force-app: Path where source files reside (e.g., Apex classes).-k mysecretkey: Password required during installation; replace with any secure key if needed.
The command waits up until ten minutes (–wait 10) for compilation before timing out if necessary (–v specifies verbose mode).
6. Install the Package in Another Org (Optional)
If sharing this package across multiple orgs:
- Open your target org’s login page using the URL provided after creating a version (
https://<yourdomain>.my.salesforce.com/packaging/installPackage.apexp?p0=<YourPackageName>) - Enter credentials along with any required password defined during version creation (
mysecretkey). - Choose “Install for All Users” and click “Install.”
Best Practices for Using Unlocked Packages
- Use Only One Namespace Unless Necessary
Namespaces help identify who created components but may complicate upgrades unless absolutely needed. - Keep Track of Changes Made Directly
Since local modifications will be overwritten by new versions unless explicitly preserved through source control tools like Git or SVN, it’s crucial to track these changes manually or via automated scripts when possible. - Test Thoroughly Before Deployment
Always test new versions thoroughly before deploying them into production environments due their potential impact on existing configurations/customizations within those systems! - Monitor Dependencies Carefully
Be aware of dependencies between different components within your application as they might affect how upgrades interact with existing customizations. - Use Source Control Tools
- Utilize tools like Git or SVN not only for tracking changes but also managing different branches based on development stages—this helps maintain clean codebases across various projects/environments!
- Implement Continuous Integration/Continuous Deployment Pipelines (CI/CD)
- Automate testing & deployment processes using platforms such as Jenkins/GitLab CI/CD pipelines—ensuring smooth transitions between development phases while maintaining quality standards throughout each iteration cycle!
By following these steps and best practices, you can leverage unlocked packages effectively within Salesforce—streamlining deployments while maintaining flexibility!
Frequently Asked Questions About Unlocked Packages
Q1: What Is The Difference Between Managed And Unmanaged vs UnLocked?
Managed vs unmanaged refers primarily whether there’s support & control maintained centrally whereas locked/unocked pertains more towards end-user ability edit post-installation.
Managed & locked typically imply vendor-controlled updates whereas unmanaged/unocked allow direct edits.
Unocked specifically offers upgrade paths similar managed ones but still allows customization post-deployment unlike traditional locked ones!
This concludes our comprehensive guide on unlocking power through salesforce packaging solutions!
Click here for more blogs by us: